Adjustment data
Running in and tuning your engine: how to do it right
Running in
Ride the first 2 tanks at no more than half throttle.
Use a fuel/oil mix ratio of 1:25 while running in.
After that, you can go to a maximum of 1:40.
Fuel and oil
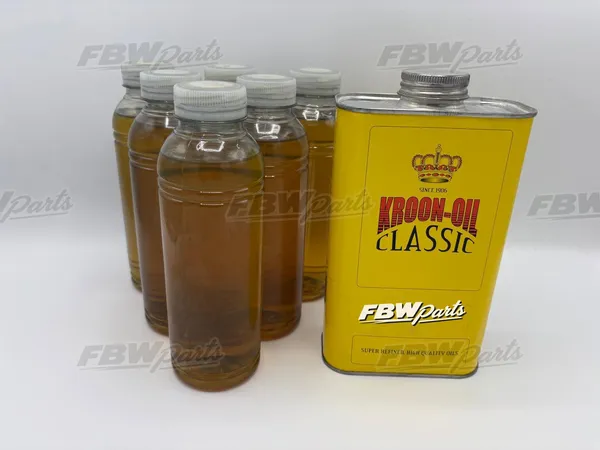
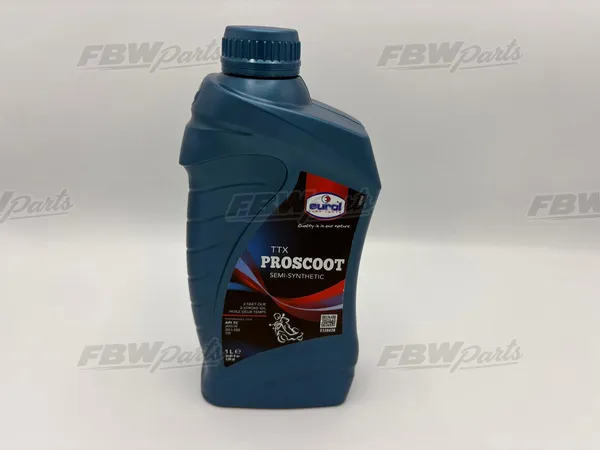
Mix it yourself, using 98 octane petrol and a quality brand-name oil.
Normal conditions: 1:40.
In hot weather, or if you often ride at full throttle, I recommend 1:35.
Tuning
I strongly advise against an adjustable jet.
Make sure the engine always gets enough fuel. No fuel means no lubrication, and that means damage!
Start rich, then lean it out step by step.
Don’t let the engine over-rev.
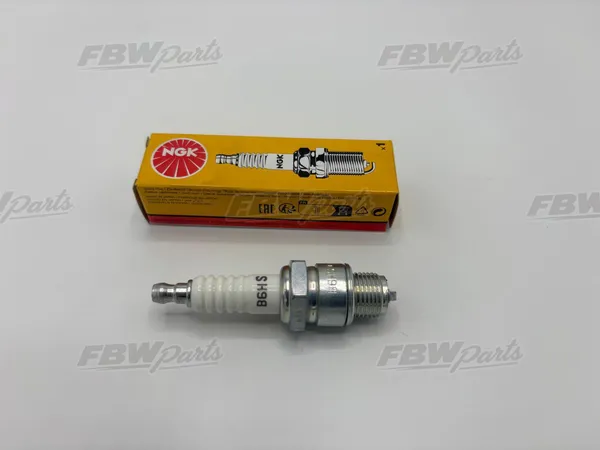
Check the spark plug
Check the colour of the spark plug regularly.
After running in, it should be coffee brown or slightly darker.
Too white is definitely not good (see photo)!
Exhaust
Decarbonize the exhaust thoroughly, or replace it.
Ignition timing – JLO G50
After any work on the JLO G50 engine, the ignition timing must be reset.
Position the base plate
Left-hand ignition (Noris/Bosch Elzj(e)): turn the base plate fully in the direction of rotation (see the arrow on the flywheel). Right-hand ignition (Bosch): turn the base plate fully against the direction of rotation.
Set the point gap
With the contact points fully open, the gap should be 0.3–0.4 mm.
Set the advance
Set the ignition to 2.3 mm before TDC (top dead centre).
Check the clearance
Make sure the magnets do not rub anywhere. The minimum clearance is 0.15 mm.
Adjusting the clutch
A correctly adjusted clutch ensures smooth gear changes, less wear and reliable engine operation. These two simple checks will get your clutch set up properly in just a few minutes.
Step 1 – Position of the clutch lever on the engine (point a)
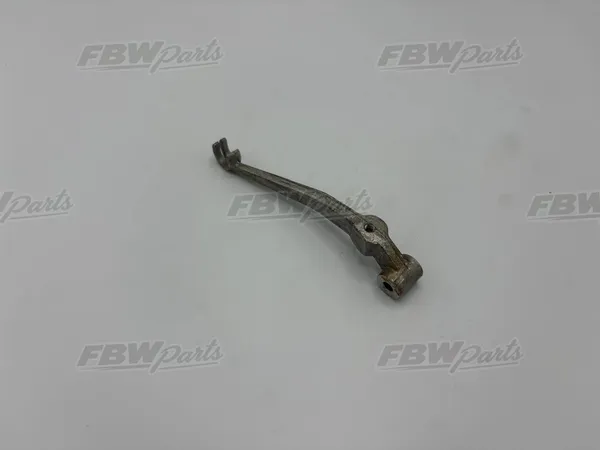
Slowly pull in the clutch lever on the handlebar until the clutch just starts to disengage (the engagement point). At that moment, the clutch lever on the engine should line up exactly with the arrow on the type plate. This corresponds to a distance of 5 mm from the outer edge of the crankcase (see fig. C1, point a).
If it doesn’t line up, correct the lever position using the adjusting screw (c).
Step 2 – Free play of the handlebar lever (point b)
Next, check that the clutch lever on the handlebar has 2 mm of free play before the cable starts to pull (see fig. C1, point b).
If there is too much or too little play, adjust it with the adjusting screw (c).
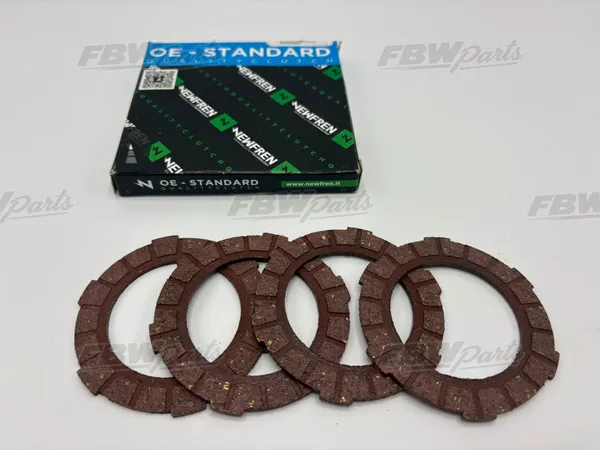
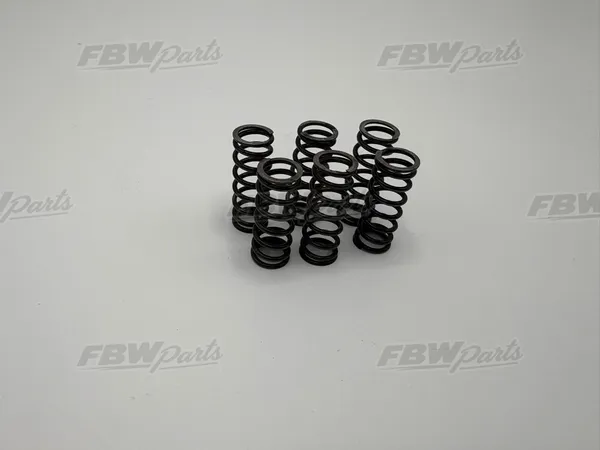
Tip: If the clutch keeps slipping or cannot be adjusted properly, start by replacing the clutch plates and the clutch springs. Both are available at FBWparts.